 Wasatch Cleaners
Wasatch CleanersHome Field Notes / 10
The kitchen reset · Field note 10
The touch points hiding in plain sight.
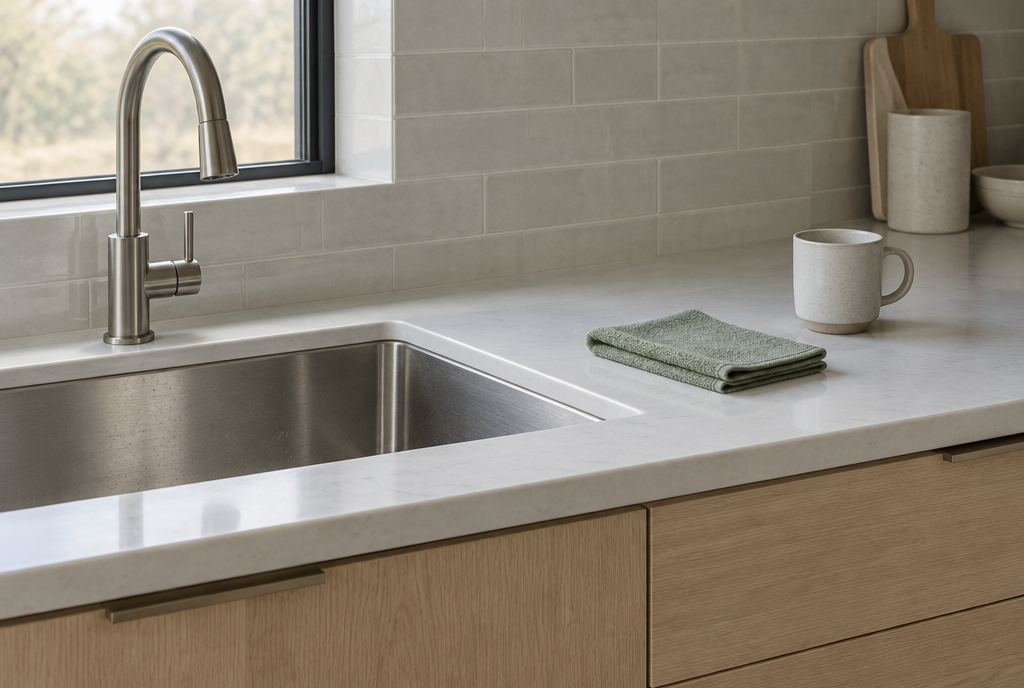
Around handles, a small amount of grease can collect repeatedly. A gentle, regular pass protects painted and finished cabinet fronts better than an occasional aggressive scrub.
Your kitSoft cloths; finish-approved cleaner; dry towel
A method worth keeping
Three deliberate steps.
01
Check the finish
Identify painted, stained, laminate, or specialty fronts. Test the approved cleaner in a discreet spot and inspect after drying.
02
Work around the handles
Wipe the high-touch areas with a lightly dampened cloth. Follow the door shape and keep excess moisture out of seams.
03
Dry the edges
Use a second cloth on corners, lower rails, and hardware. Inspect in side light without polishing away the original finish.
A little help goes a long way
Let us take care of the clean.
Always follow the surface maker’s care instructions and product label. Never mix cleaning products. This guide is for ordinary household care, not hazardous-material remediation. Product-specific instructions take priority.
Related references and service information: Cleaning and disinfecting: CDC
Wasatch Cleaners · Edition 01, October 2026 · https://wasatch-cleaners.com/field-notes/guides/cabinet-fronts/
Related references and service information: Cleaning and disinfecting: CDC
Wasatch Cleaners · Edition 01, October 2026 · https://wasatch-cleaners.com/field-notes/guides/cabinet-fronts/